Art
Upminster Infant School – England
Lesson Subject: To paint a wash background. To Paint a Christmas card for the PTA. To use paint to make a handprint.
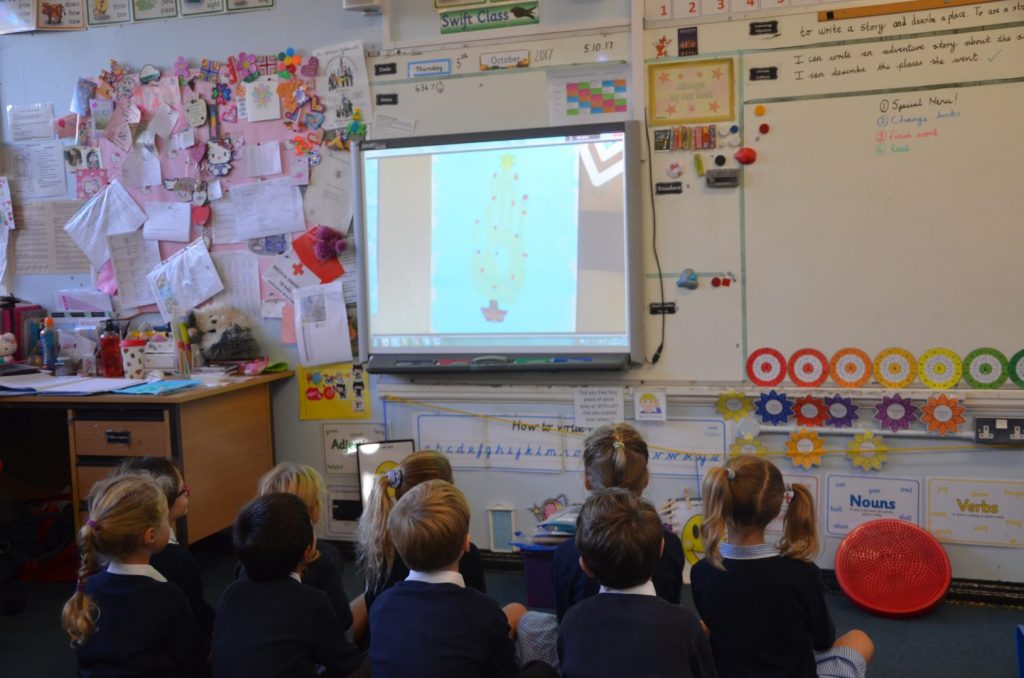
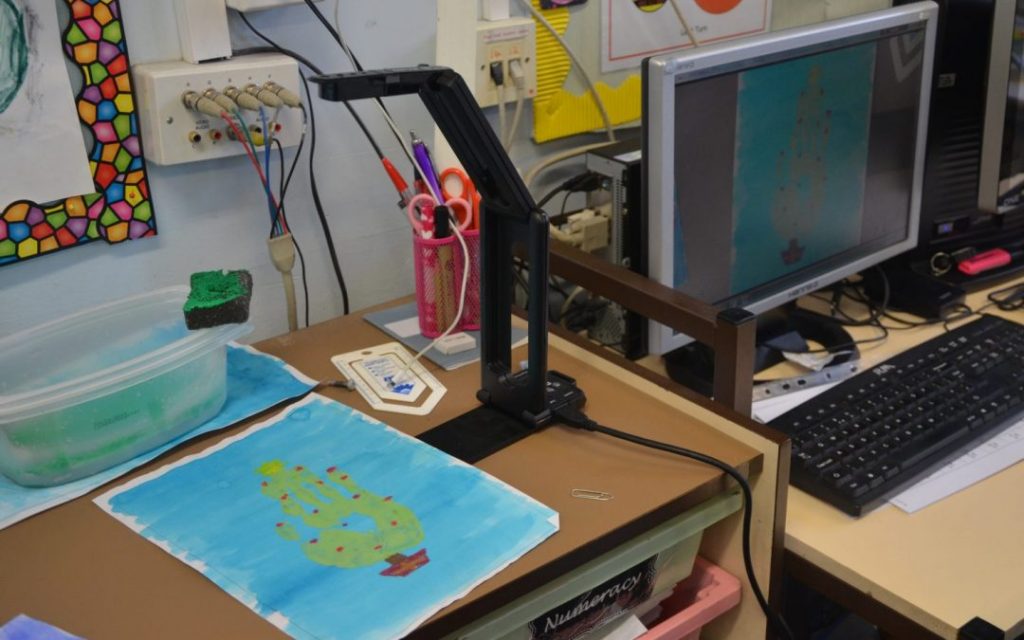
How the ELMO visualiser was used? The ELMO was used for teacher demonstration. The teacher painted the background under the ELMO for the children to see a clear modelled example. When the background was dry the ELMO was used again to show the children how to use paint correctly on their hands to make a hand print.
The benefits of the ELMO visualiser to teaching & learning: Clear modeling for the whole class to see exactly how to paint their pictures. The children were able to a complete a good quality, handprint Christmas card. It gave them the opportunity to comment about what they saw and the teacher was able to ask them what shapes and colours they could see – can they recognise the hand shape? It showed the children the paper, the equipment they would need and how to use it in a sensible way. The teacher went through the instructions step by step under the visualiser. It gave the children the opportunity to see clearly how to produce their own version. The ELMO encouraged them to follow the instructions closely, and allowed them to make their own high quality creations. It supported the children where necessary throughout the activity. Once the children have finished, they were able to see each other’s work displayed under the visualiser.
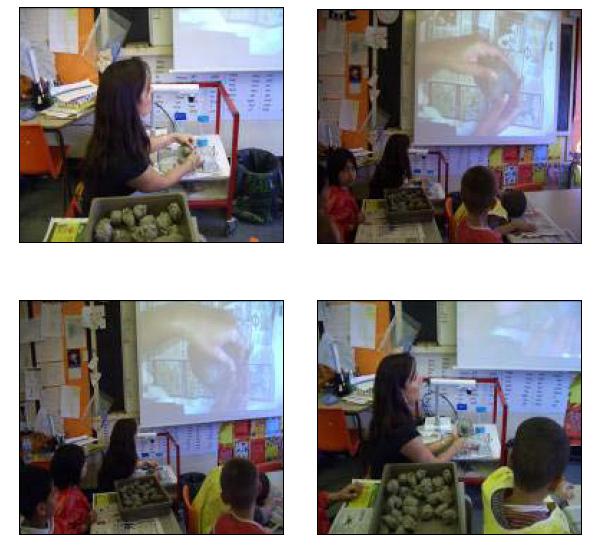
Carver Academy – A Communication Arts Magnet School – USA
How the visualiser/document-camera was used
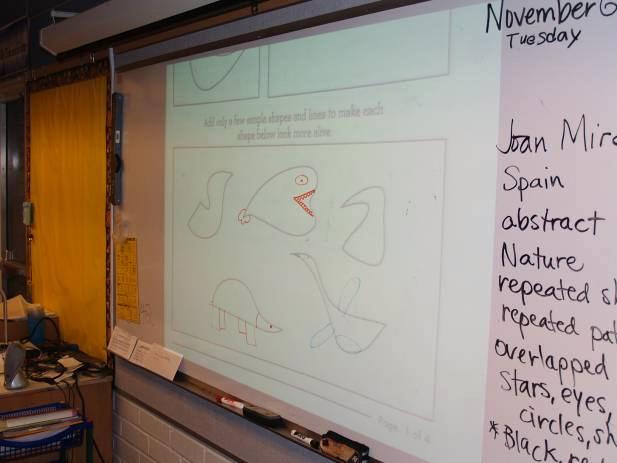
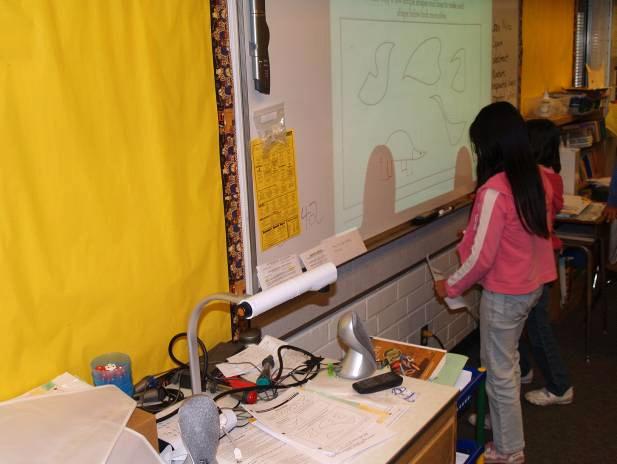
Creativity and imagination go hand in hand. Elaine Kimura of Carver Academy uses her ELMO TT-02 on a daily basis to aid in teaching new concepts or exploring unique ways of learning.
Ms Kimura has placed a document before the ELMO TT-02 with odd shapes and designs. The students are asked to create distinctive animals, objects or creatures out of the shapes by using an erasable marker on a white board.
This process helps the students develop their artistic abilities and further enhances their creativity. This can lead to greater details in subjects such as Art, Math and Creative Writing.
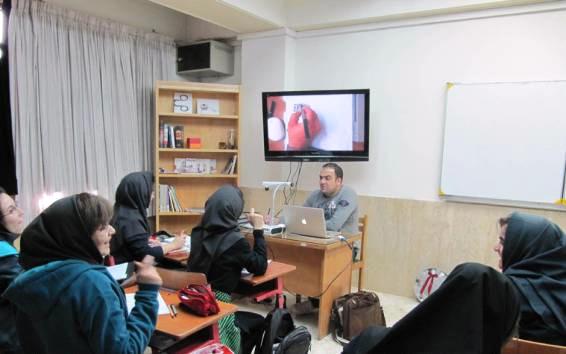
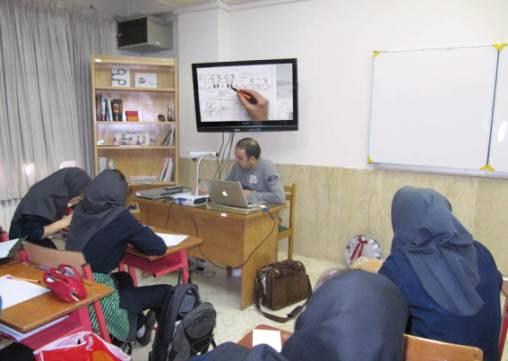
Kherad Education Complex – Iran
Subject: Industrial Design
Teaching students drawing techniques on a black or white board had always been very difficult. The way you draw on the board, and the way you draw on a piece of paper are two different methods. I had to explain to my kids the different methods and then later go to each student’s desk and help them draw on paper. We also always had problems with kids not paying attention and talking to each other, or doing their own things, when I had my back to the class.
With my new document camera, I am always facing the students and know that they are paying attention. I show them how to hold a drawing or drafting instrument and how to draw on paper. They observe the results right away. I normally ask them to start their work with me, and we advance step-by-step. They constantly compare their work with mine (which is being displayed on an LCD monitor) and correct their mistakes as we proceed.
I still go over their desks to look at their work but it is normally a more pleasant interaction, as their work has been checked by themselves and I have to make minimal suggestions or corrections.
Gascoigne Primary School – UK / Barking Essex
The lesson objective: Make a sanbrero based on previous design
How the visualiser/document camera was used: To demonstrate how to mould and shape clay with fingers. To demonstrate technique.
The benefits of the Visualiser/Document camera to teaching & learning:
- The whole class could clearly see the demonstration, particularly how the fingers were used to manipulate the clay.
- Children could follow step by step demonstration.
- Zooming in allowed the children to look closely at the clay as it hardened
Gascoigne Primary School – UK / Barking Essex
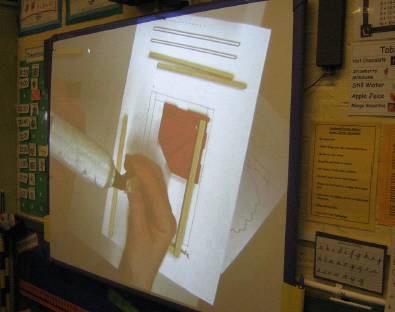
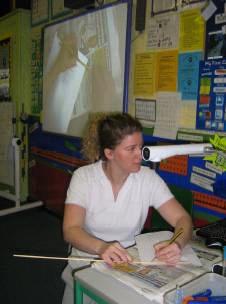
Lesson Application:
- To name the main parts of a moving vehicle.
- To measure, cut and glue materials safely and accurately.
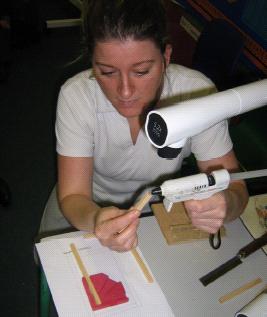
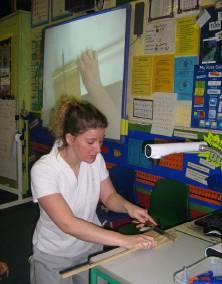
How the visualiser/document camera was used:
- Measuring and marking off the wooden dowel for axle and square end jelutong wood for chassis using a template, ruler and pencil.
- Sawing wood for chassis and axle using craft saw, sawing block and clamp
- Gluing chassis together using glue gun and corner joining frame
- Sticking on triangular axle supports using glue gun
- Attaching wooden wheels to axle